
Ullscarf - Lake District Walk
Monday 3rd December 2007
As we set off today the weather looked to be improving and despite the cold wind we had high hopes for some good views. As we reached the top of Blea Tarn Fell the sleet and hailstorms started to sweep in making the walk from Standing Crag to Ullscarf a head down and try to avoid the hail hitting you in the face type of experience. It was an effort to stand still at the summit of Ullscarf and so cold that we didn't stop for food and ended up eating our 'lunch' in the car after the walk.
Start: Dobgill car park (NY 3160 1401)
Route: Dobgill car park - Brown Rigg (223) - Blea Tarn Fell (224) - Standing Crag (225) - Ullscarf (226) - Wythburn Fell (227) - Harrop Tarn - Dobgill car park
Distance: 6.5 miles Ascent: 645 metres Time Taken: 5 hours 40 mins
Terrain: Generally pathless moor land that was boggy in places.
Weather: Cold with rain, sleet and hailstorms.
Pub Visited: None Ale Drunk: None
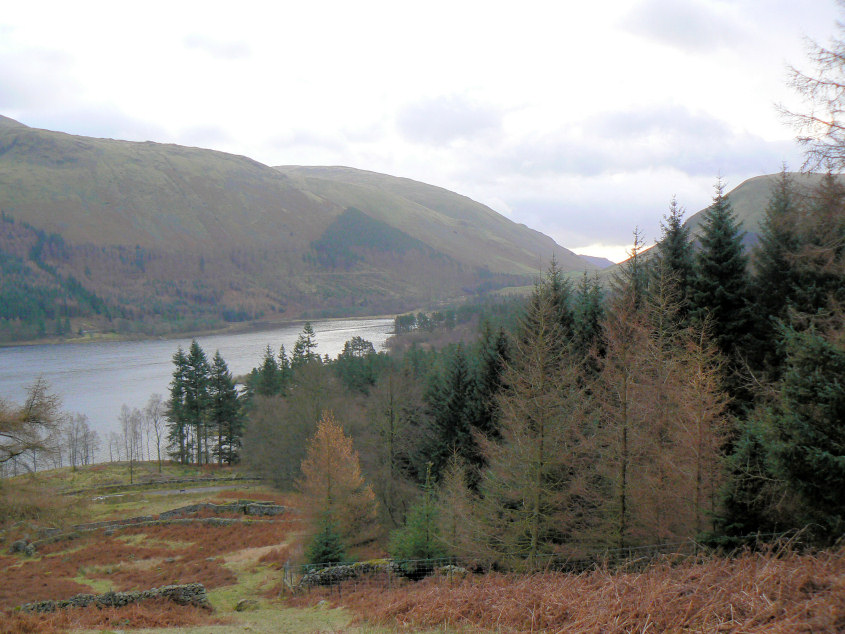
Thirlmere as we head up towards Brown Rigg.
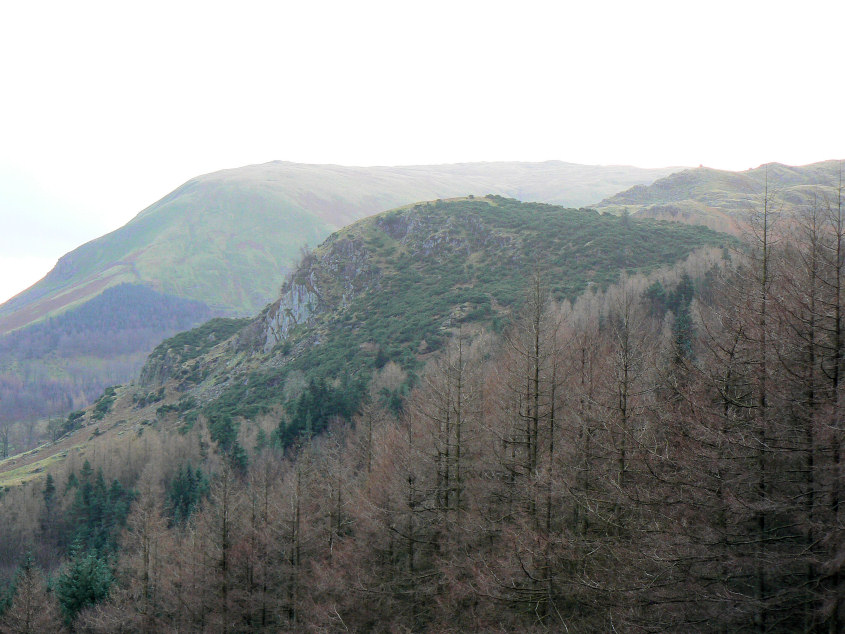
As we continue to climb Birk Crag and Stell Fell come into view.
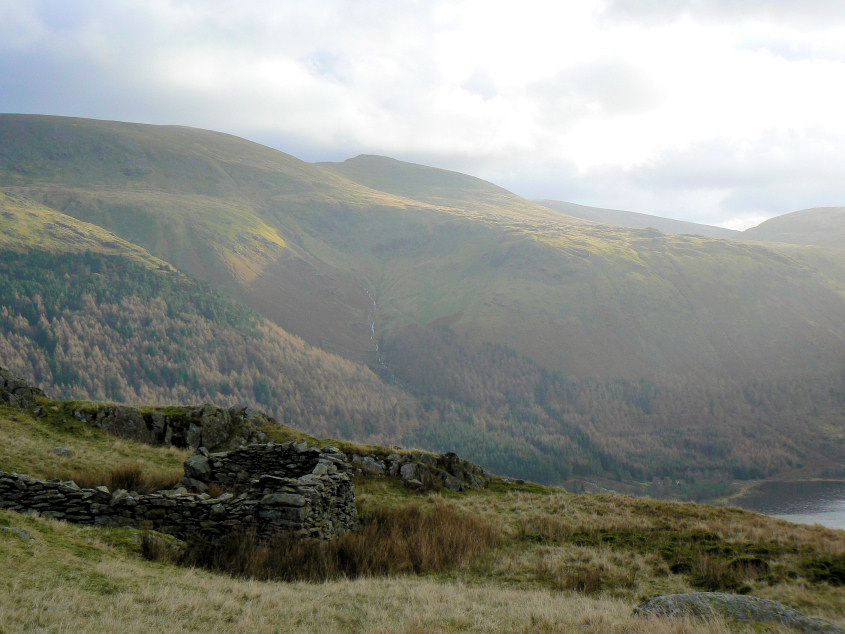
With the steepest section of the climb over we take a breather and admire the views. Here looking across Thirlmere to Dollywagon Pike.
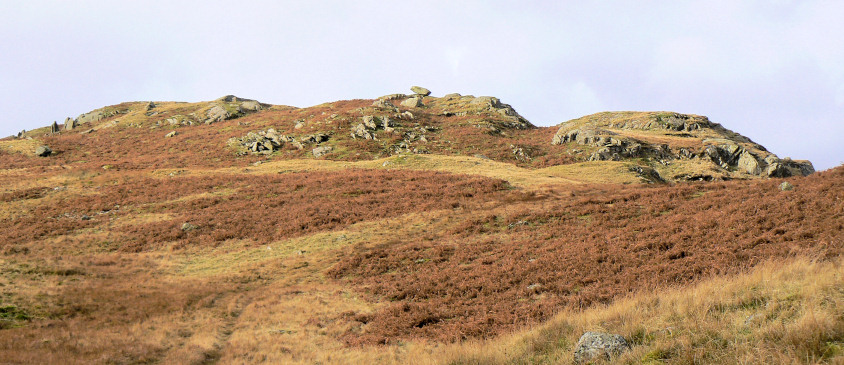
Brown Riggs' summit is marked by this distinctive balancing stone.
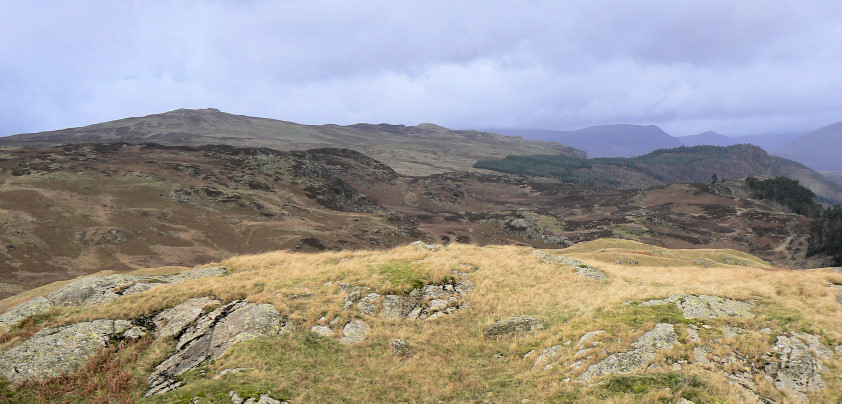
Looking across to High Tove from Brown Riggs' summit.
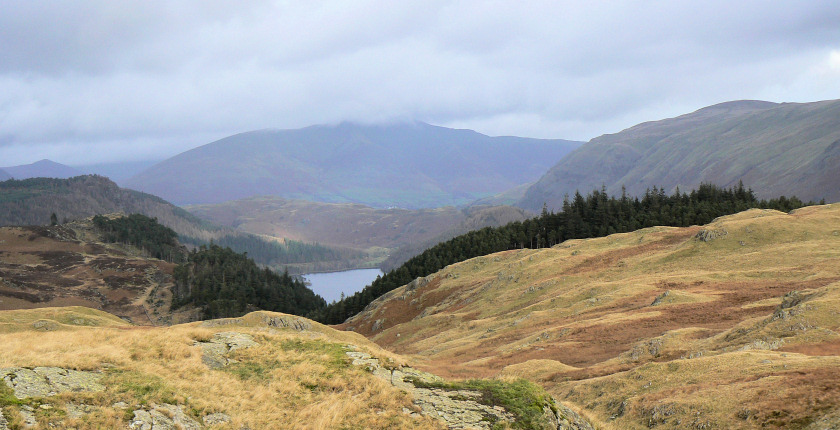
Blencathra's summit remains in cloud.
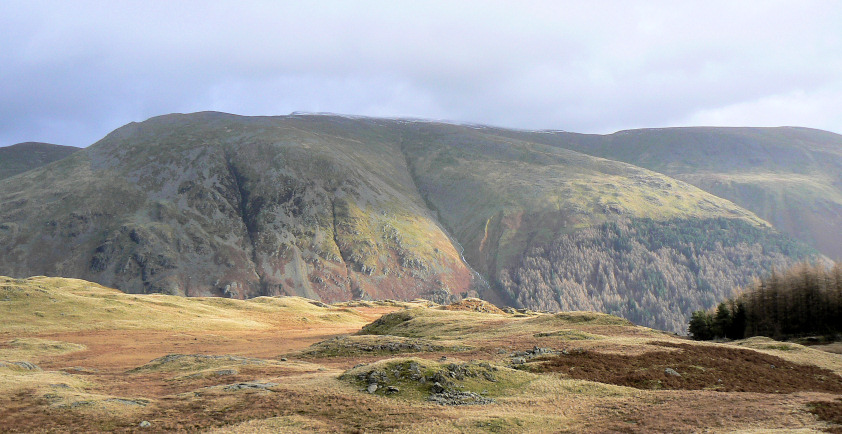
Helvellyn's summit is clear, for now.
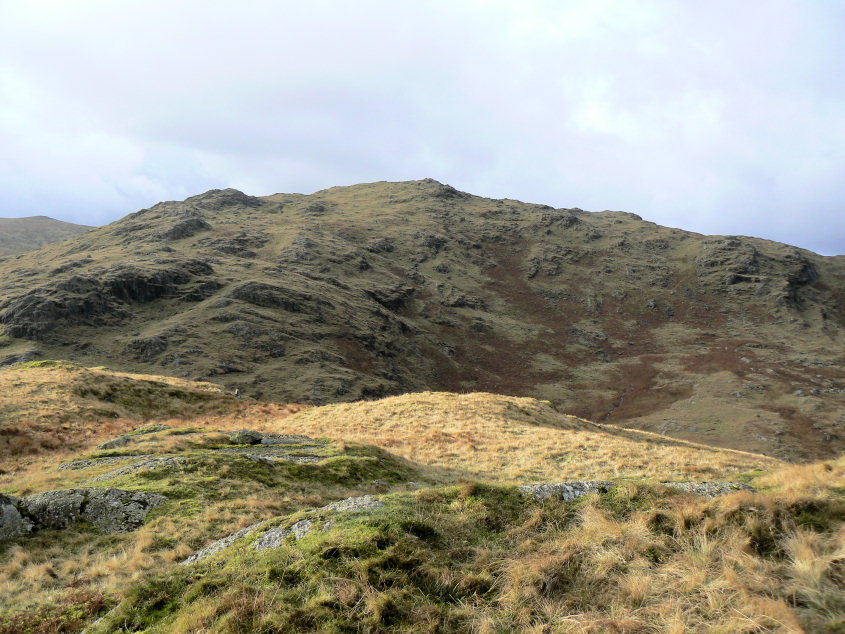
Blea Tarn Fell our next summit which isn't named on the OS map.
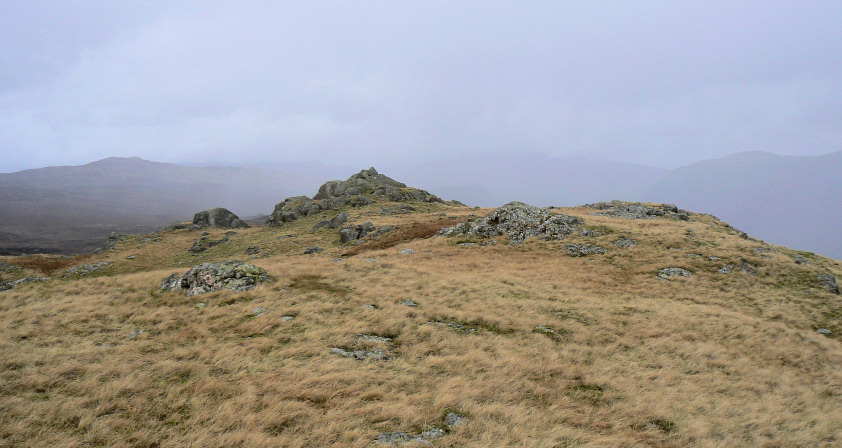
Looking back to Blea Tarn Fell's summit after the first rain shower had passed over us.
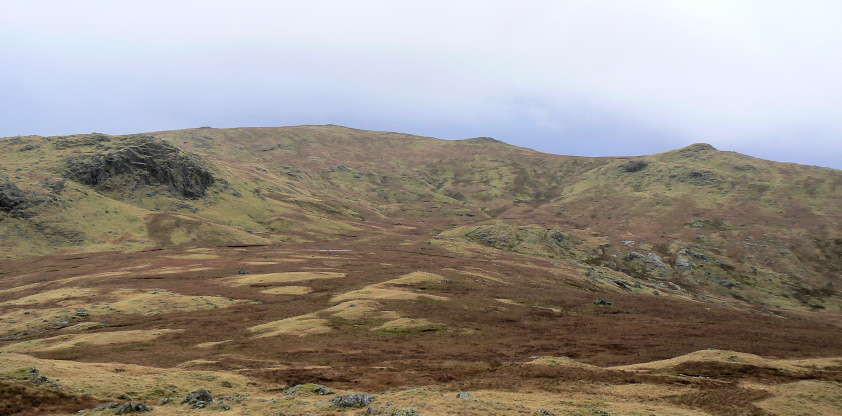
Standing Crag and Coldbarrow Fell from Blea Tarn Fell. We had planned on including the two summits on Coldbarrow Fell in today's walk but by the time we reached Standing Crag the weather had changed for the worse and we were walking in cloud.
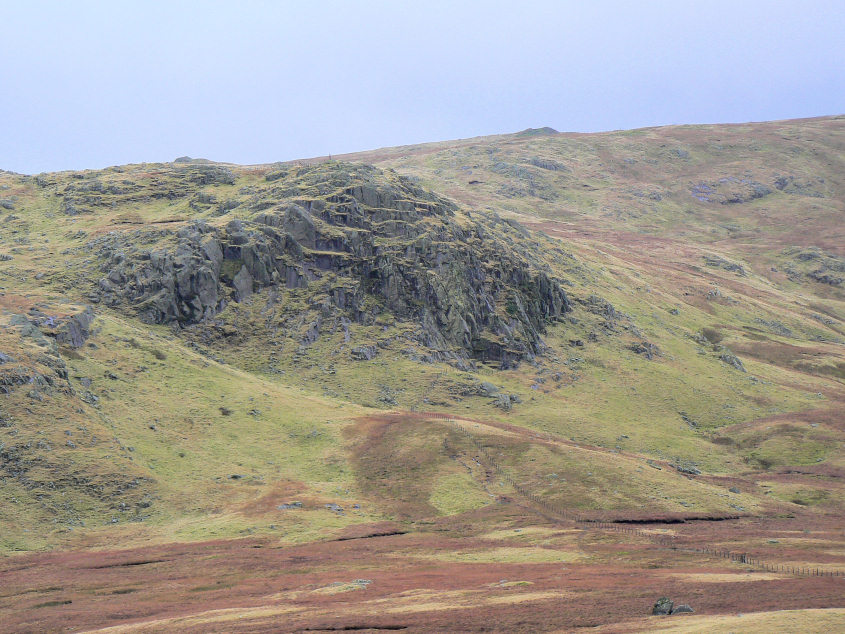
Standing Crag.
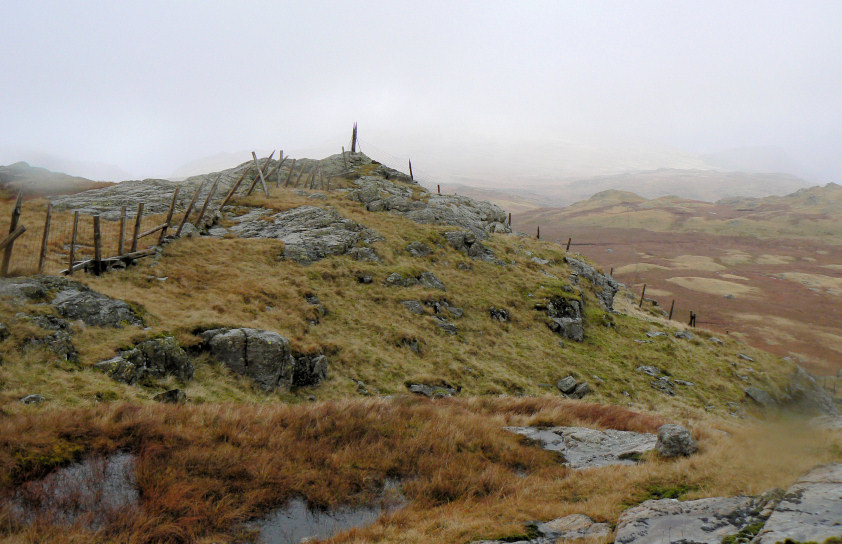
Standing Crag's summit.
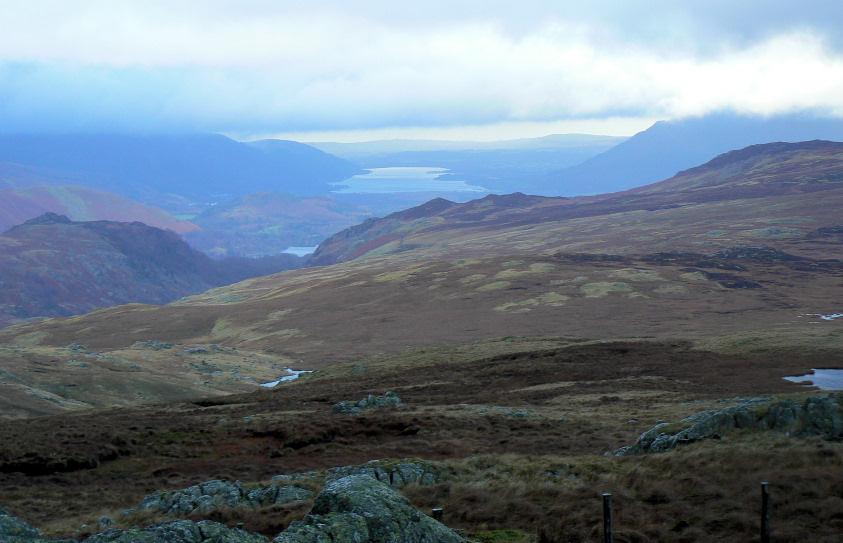
A very brief break in the rain gave us this view of Derwent Water and Bassenthwaite. A few minutes later we were being pelted with hailstones.
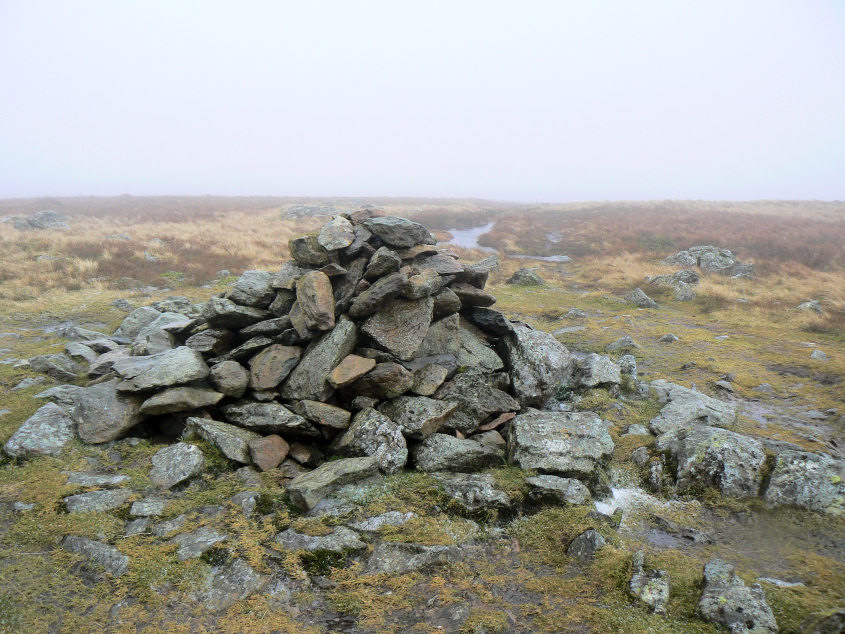
Ullscarf's summit, no views and it was an effort to keep the camera still.
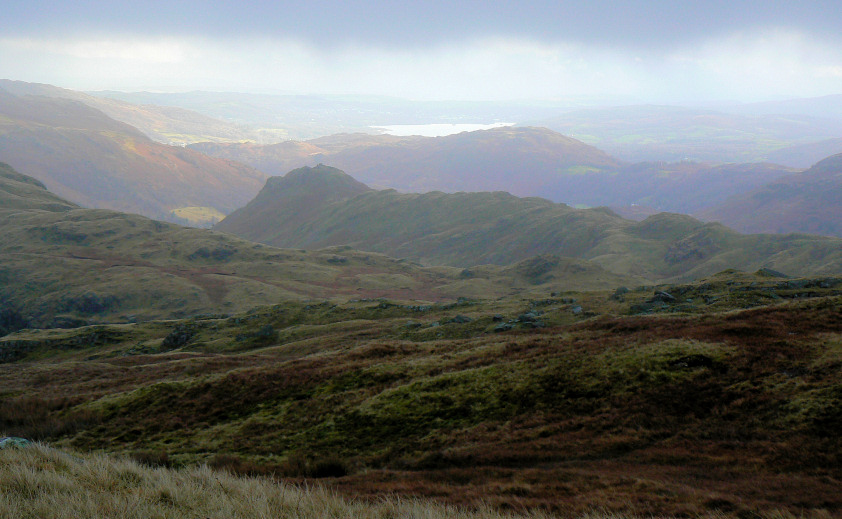
Out of the clouds and Helm Crag, Loughrigg Fell and Windermere come into view.
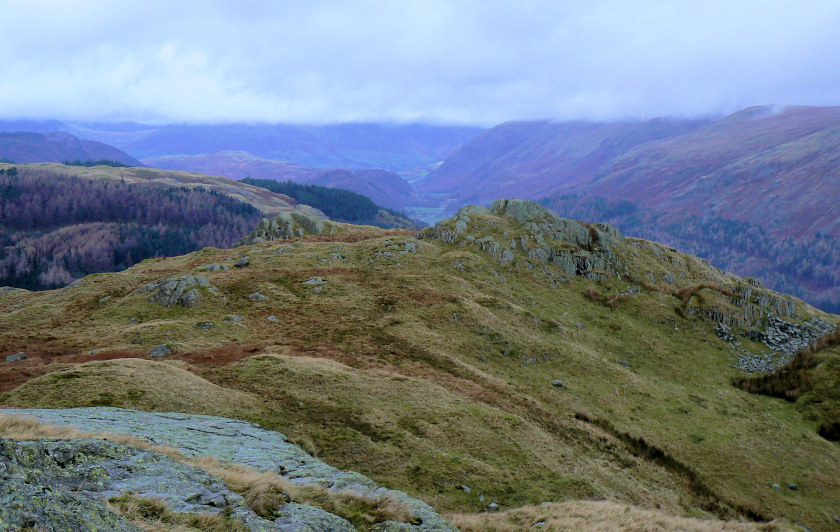
Heading towards Wythburn Fell's summit, again un-named on the OS map.
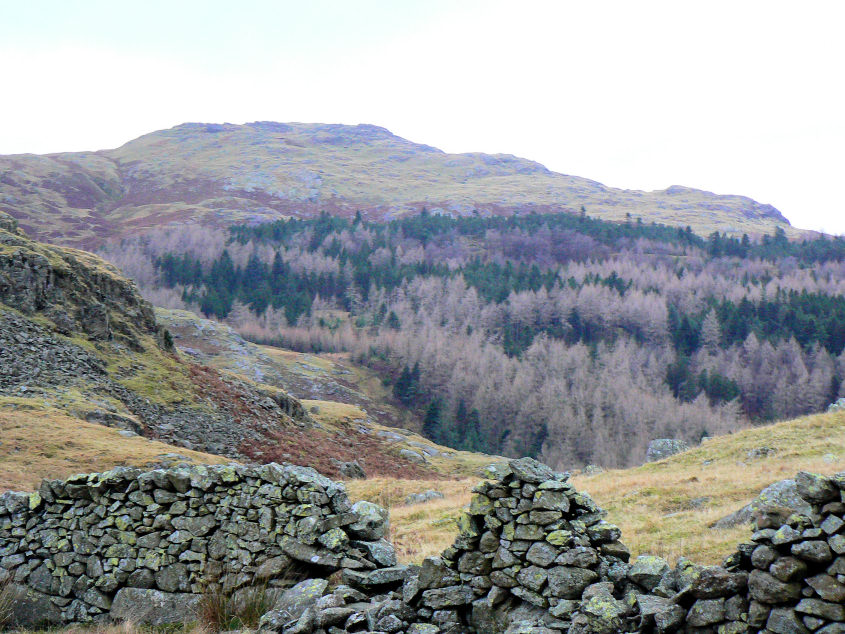
Looking towards Blea Tarn Fell.
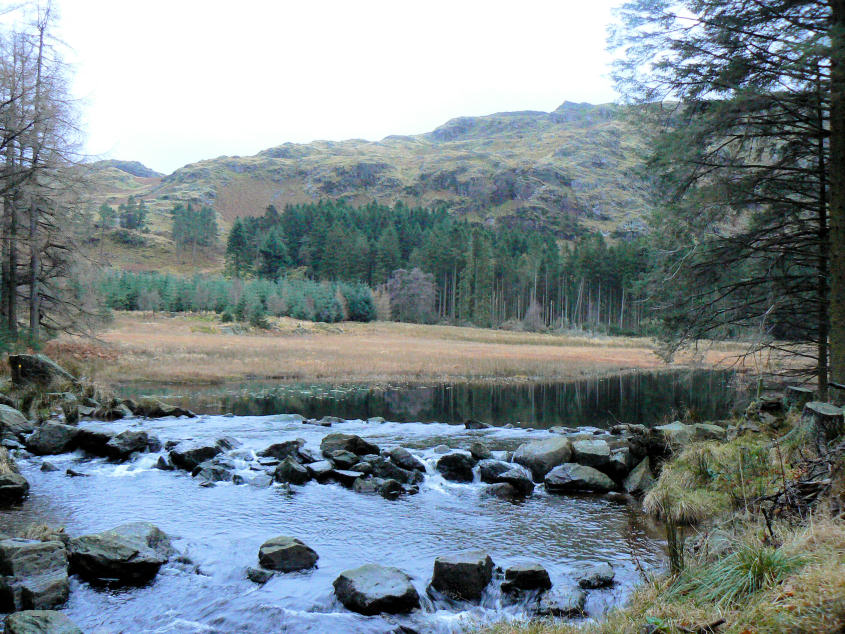
Reflections in Harrop Tarn.
All pictures copyright © Peak Walker 2006-2023